Overview
The Aillio Pro Cooling Tray is an essential companion to the Bullet R1/R2 home coffee roaster. Its job is simple but critical: rapidly cool freshly roasted beans the moment they exit the drum, locking in your target flavour development. Like any mechanical component used under sustained heat and daily operation, the control buttons on the Pro Cooling Tray can wear out or fail over time.
This guide follows Aillio's official technical support video to walk you through a clean, safe button replacement — whether you're a hands-on home roaster comfortable with basic electronics, or just want to understand what the repair involves before deciding whether to DIY or send it in.
What You'll Need
- Replacement button(s) — sourced from Aillio directly or your local authorised distributor, Bullet Vietnam
- Phillips-head screwdriver (small)
- Flat-head screwdriver or plastic spudger for prying
- Needle-nose pliers (optional but helpful)
- A clean, well-lit, static-free workspace
Safety First
Before touching any component of the Pro Cooling Tray, follow these precautions:
- Power off the cooling tray and disconnect it completely from the Bullet roaster.
- Allow all parts to cool fully — metal components retain heat well beyond what's visible.
- Work on a non-conductive, static-safe surface to avoid damaging the PCB or other electronics.
Step-by-Step: Replacing the Button
Step 1 — Remove the Housing Cover
Use your Phillips-head screwdriver to remove the screws securing the top cover of the Pro Cooling Tray. Place the screws in a small container immediately so nothing rolls away. Lift the cover away gently to reveal the internal control board and button assembly.
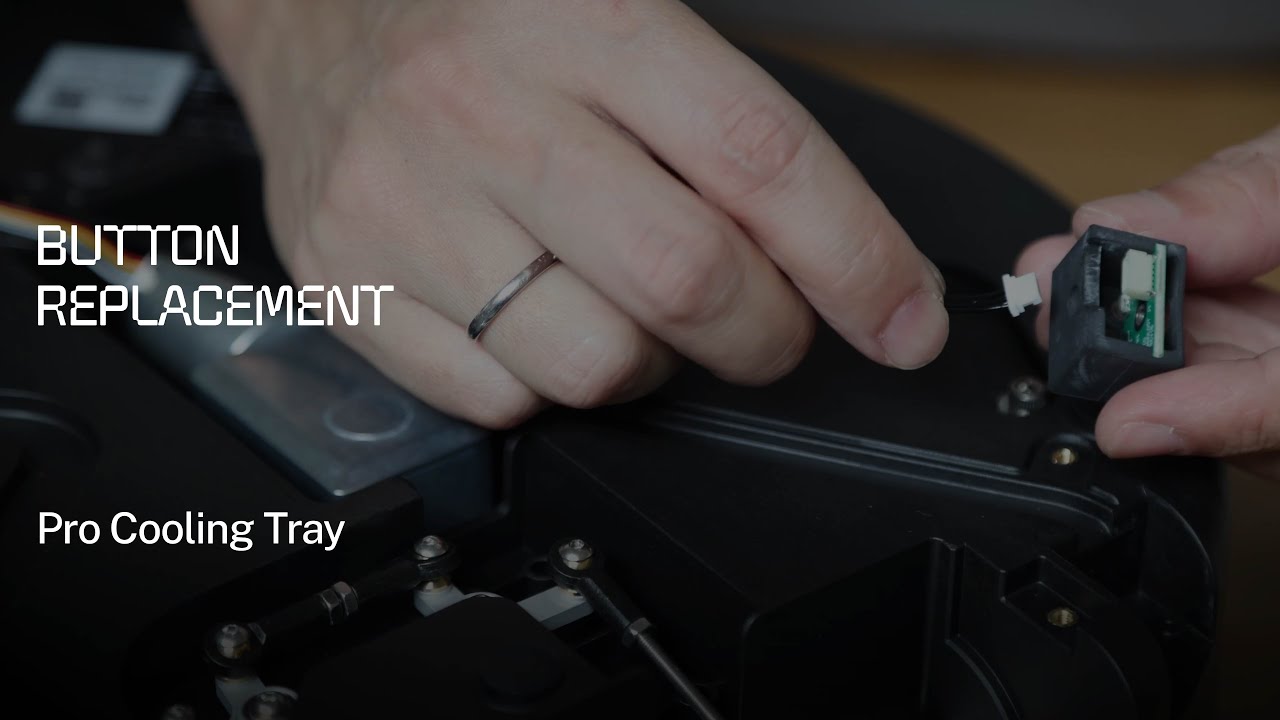
Step 2 — Locate and Disconnect the Faulty Button
Identify the button that needs replacement on the PCB. Depending on your Pro Cooling Tray version, the button will either be soldered directly to the board or attached via a clip-in connector. For soldered buttons, use a soldering iron and desoldering pump to remove it without lifting PCB pads. For clip connectors, press the release tab and pull straight out — never at an angle.
Step 3 — Seat the Replacement Button
Align the new button with the corresponding holes or pads on the PCB. For through-hole buttons, press until you feel or hear a firm click confirming it's seated. For soldered variants, follow the original pad footprint and apply clean, even solder joints. Double-check alignment before closing the housing — even a slight offset can cause intermittent response or complete non-function.
Step 4 — Reassemble and Verify
Replace the housing cover, start all screws finger-tight before doing a final torque pass to avoid stripping. Reconnect the Pro Cooling Tray to your Bullet R1/R2, power on, and test every button — not just the replaced one — before your next roast session.
When to Contact Support Instead
If the button replacement does not resolve the issue, or if you observe burnt PCB traces, cracked connectors, or any other damage during disassembly, stop and do not go further. Hardware damage beyond a single button warrants professional assessment. Contact Aillio support at aillio.com/contact-us, or reach out to Bullet Vietnam for local warranty service and spare part sourcing.
Keep Your Cooling Tray in Peak Condition
A sluggish or non-functional cooling tray isn't just an inconvenience — it means your beans keep developing (or over-developing) after leaving the drum, which directly undermines the consistency you've worked to build across your roast profiles. Addressing small repairs like this promptly keeps your entire Bullet workflow reliable and reproducible batch after batch.